


Shop Brake Pads Now
Brakes - arguably one of the most important parts of your bike, in terms of safety at least, but also one of the easiest to forget to maintain. On disc brakes particularly, the pads can be difficult to see, and so often people forget to check their pads, or don't even know how. Not checking your pads, especially through winter, can be disastrous - one ride your brakes might be working fine, and the next you've got nothing. At the best, poor brakes can be annoying, and at the worst they're downright dangerous. So it pays to pay close attention to them and know what you're looking at.
Following a ride-club tech night in the summer, I'd like to spread a little education on brakes, and hopefully help everyone keep themselves a little safer out there! I'm going to focus on hydraulic disc brakes here, as they're by far the most common type of brake out there these days.
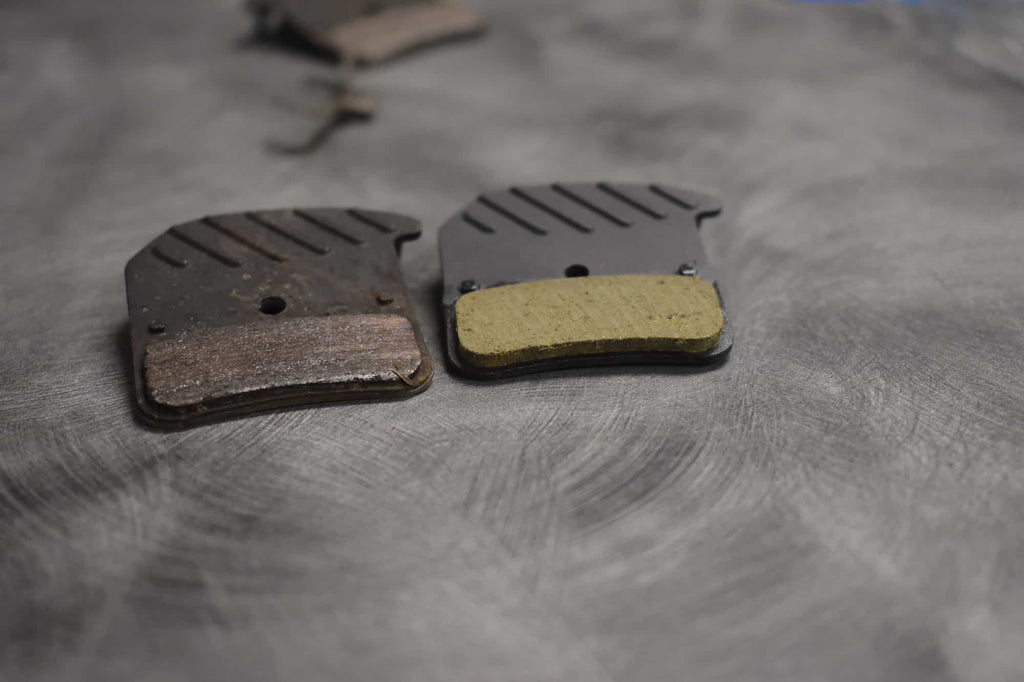 Worn pads on the left, fresh pads on the right. This customer could have gotten a bit more time out of those pads, but not much.
Pad Wear - How To Tell.
With many brake systems it's easy to see how much pad you have left without removing any part of the bike. You can often just look down the top of the caliper and visually inspect the pads. It can be worth looking from the opposite side too, as pads don't always wear evenly. You may need to flip the bike upside-down to do this, and a torch can be useful to really see in there.
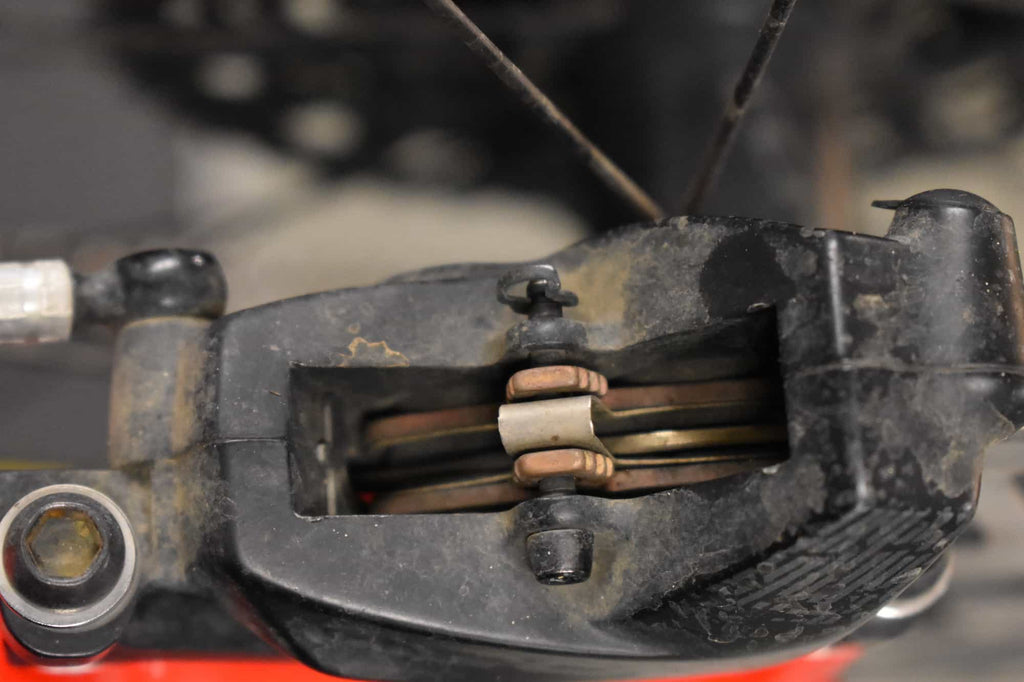 Looking down from the top can be the easiest way to see how much pad you have left.
If it's difficult to see what's going on in there, you can simply remove your wheel to get a better look. If your pads are worn down almost to the backing, it's time to replace them. It can be worth checking your pads every couple of weeks, or after a particularly wet/muddy ride, as the mud/grit can wear your pads down a lot faster.
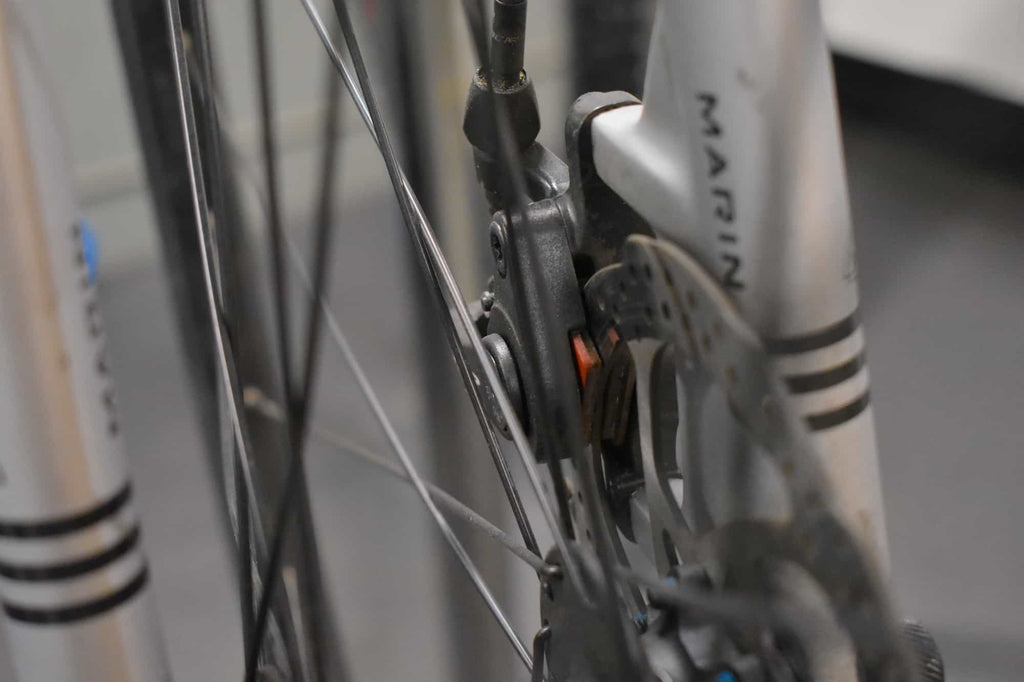 You should check from the bottom too, with the wheel out if possible.
Brake Contamination
Brake pad contamination is the second reason to replace your pads. Brakes can be easily contaminated by oily substances such as brake fluid, chain lube and other kinds of oils and lubes. For this reason, it's a good idea to keep any aerosol type lube well away from your bike, in particular your brakes. Once contaminated, it's often difficult to resurrect your brake pads. While there are certain home remedies that have been known on occasion to work, the success rate is pretty low, and the only way to remedy this is usually to replace the pads and clean the rotor.
How do I know my brakes are contaminated?
Brake pad contamination is usually fairly obvious. There are two main signs, the first and most obvious is that your brakes make a loud squealing noise under braking force. The second sign is that your brakes are low on power, and that grabbing a handful of brake may not even really slow you down, let alone bring you to a complete stop - despite there being a solid bite point. Usually you will get one, or both of these signs when your brakes are contaminated.
How to replace your brake pads
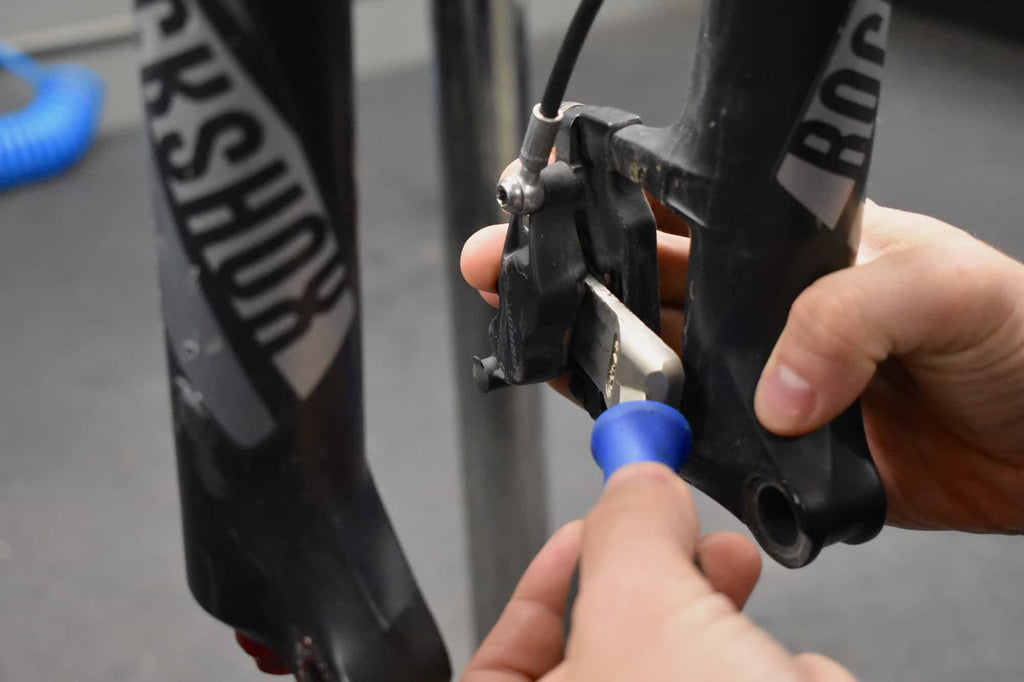
When replacing the pads, the first step is to remove the wheel. Once you've got the wheels off, you want to push the brake pistons back inside the caliper because as your pads wear, the pistons sit further out. If you don't push them back, you won't be able to fit the new pads in there. We use a Park Tool Piston Press to push them back, but a plastic tyre lever works well, or even a flat blade screwdriver. It's VERY important to note that if you use a metal object like a screwdriver, you MUST leave your old pads in while doing this so that you don't damage the pistons and ruin the brake. In fact we recommend leaving the old pads in anyway as it distributes the force better and makes pushing the pistons back easier and safer for the brake.
 Always push the pistons back with the pads in place if you can.
Once the pistons are pushed back, you can remove the pad retainer - this might be a split pin or a threaded bolt with a retaining clip on the end. Pull the old pads out from the top or bottom. Once they're out, you should give the caliper and rotor a clean with some isopropyl alcohol (rubbing alcohol) or disc brake cleaner and a clean rag/paper towel to remove any contaminants and keep it working nicely. Cleaning the caliper and rotor is especially important if your pads are contaminated - you don't want to fit new pads and re-contaminate them. Once clean and dry you should be able to simply slot the new pads into the caliper with the pad spring sandwiched in between and re-fit the retaining bolt/pin, then re-fit the wheel.
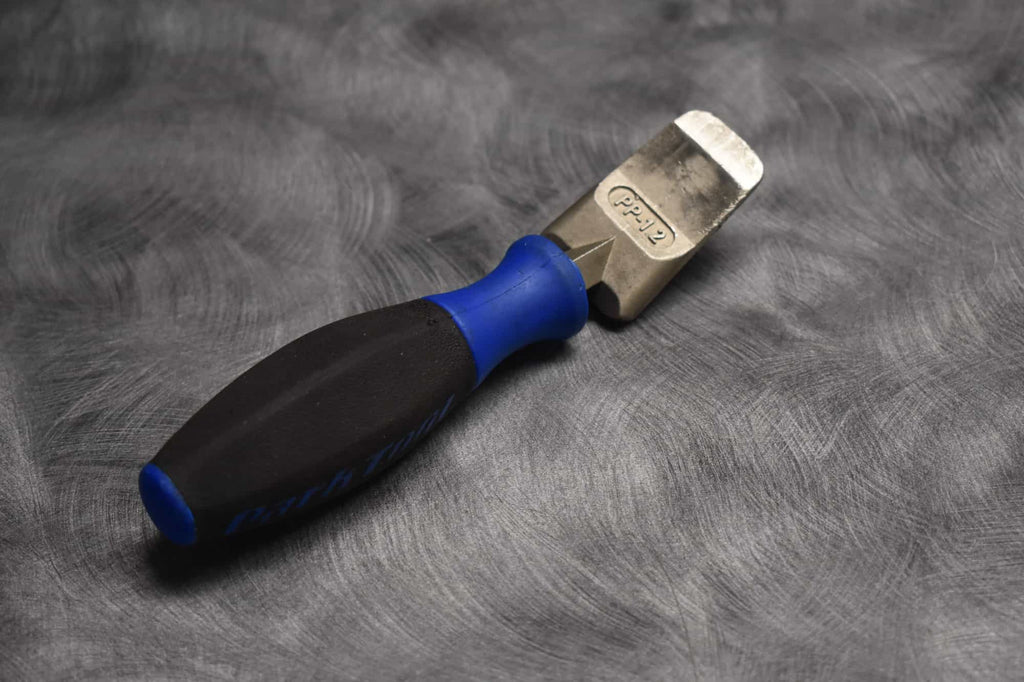 The Park Tool piston press is the best and safest tool for the job. A plastic tire lever is a close second.
You will likely need to give the lever a few pulls to get the pistons to advance out so that the pads bite the rotor. You may also need to re-center the caliper - you can do this by loosening the brake mount bolts half a turn, pulling the lever a few times and then re-tightening the bolts whilst holding the brake on. You may need someone to help you do this.
And that's it! Hopefully your brakes should be working just fine again. If not, they may require a bleed. That's a subject for another day however. If you're not sure, you can always come in store and speak to any one of our team of qualified mechanics.
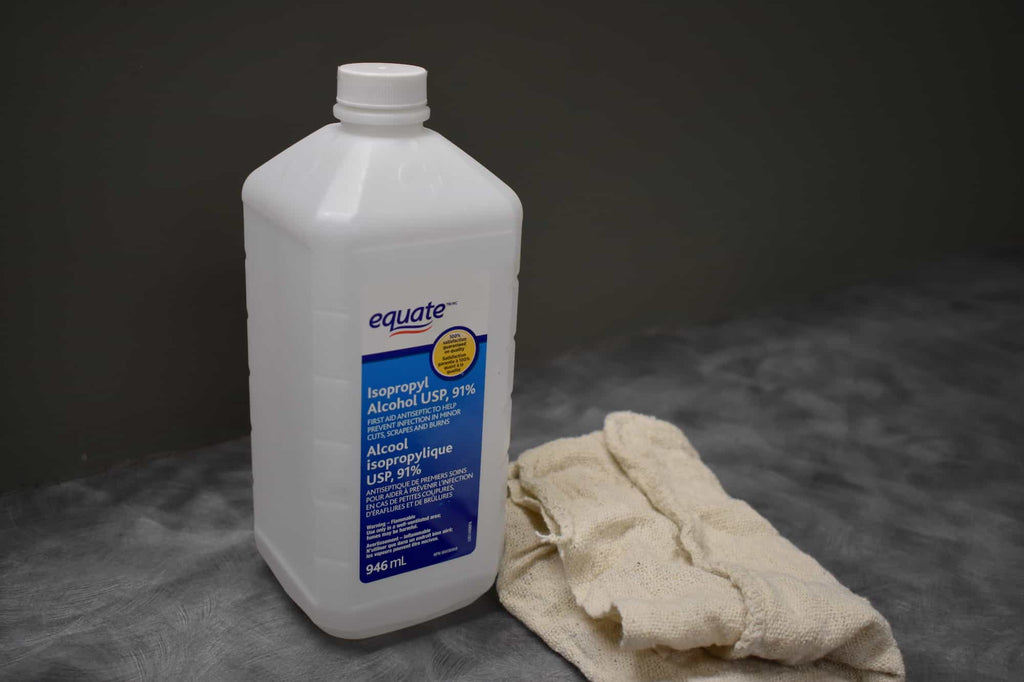 Isopropyl alcohol available from your local pharmacy is the best thing for cleaning your brakes.
Brake Pad Types
Pad Shape
There are a few different types of pad out there, and your options can vary depending on what brakes you have. The first thing to note is that brake pads come in all sorts of shapes and sizes, and you need the specific shape and size for your brake and model of brake - for example a Shimano XT mtb brake pad is different to a Shimano Ultegra road brake pad, and again is different to anything by SRAM. So the first step is to know what your brakes are - this is usually written on the brake somewhere.
Brake Pad Finder
If you run Shimano brakes, check out this brake pad compatibility chart, and this one for SRAM.
We stock most brake pads, so once you know what you need, either head in store or order online. If you're having trouble figuring out what pads you need, feel free to contact us or come in store and we can help figure out what brakes you have and what pads will work best for you!
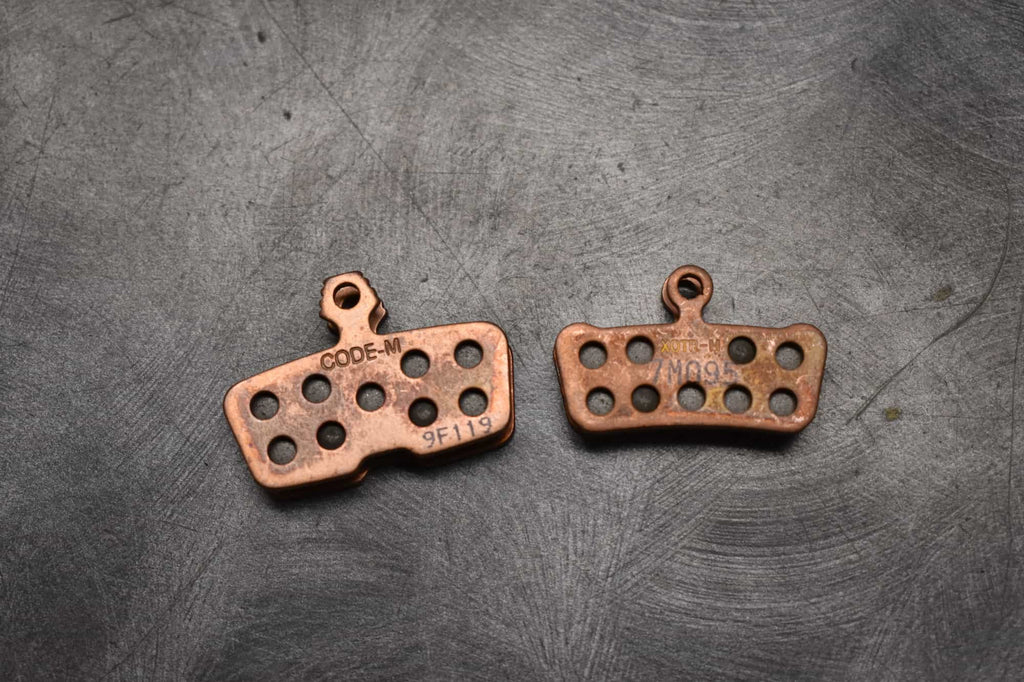 Sram Code pads on the left, Guide pads on the right. They may look very similar, but they are not cross-compatible.


Pad Compound
Pad compound is the type of material that the braking surface of the pad itself is made from. Typically there are two main types - resin (also called organic) and metallic (also called sintered). Resin is as it sounds, they're a mixture of fibres held together by a resin. The fibres can often be different things such as rubber, kevlar etc.. Metallic or sintered pads are made from metal particles fused together at a high temperature and pressure (this process is called sintering, the same process that is used in metal 3D printing).
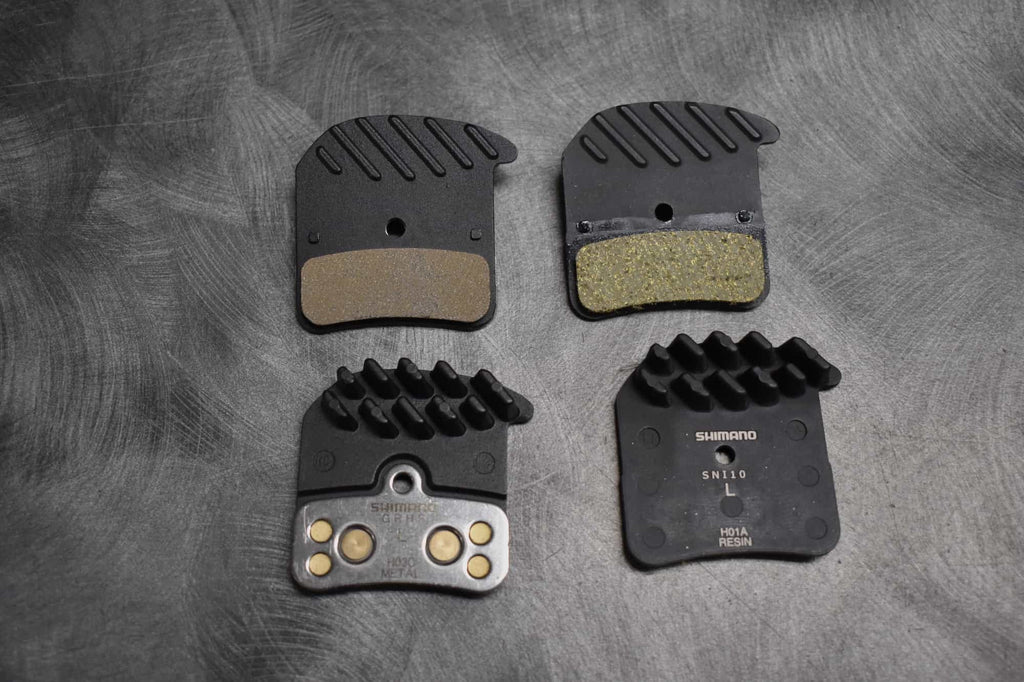
You can see a slight difference in pad compound here. Metallic on the left, resin on the right.
Typically resin pads have a slightly better initial bite from cold, but lack overall power and are not as long lasting, especially in the wet. Sintered pads take a little longer to warm up, but have more power once they're working, and usually last a lot longer, particularly in wet/muddy conditions, however they can be a little noisier. Sintered are usually a good choice in the winter, or if you feel like getting more power out of your brakes. Resin are a good choice if you're a lighter rider or can't stand the noise of sintered pads (personally I'm a sintered kinda guy).

Other Considerations
Brake pads have a few more options these days than they used to. Shimano pads now have a finned option - this is essentially a heat-sink attached to the pad. As the air flows over the fins, it helps cool the brakes and reduce brake-fade, keeping your brakes fresher for longer on those long descents. Fins add money, so if you're not the type to cook your brakes or you're riding through winter, non-finned pads work just fine.
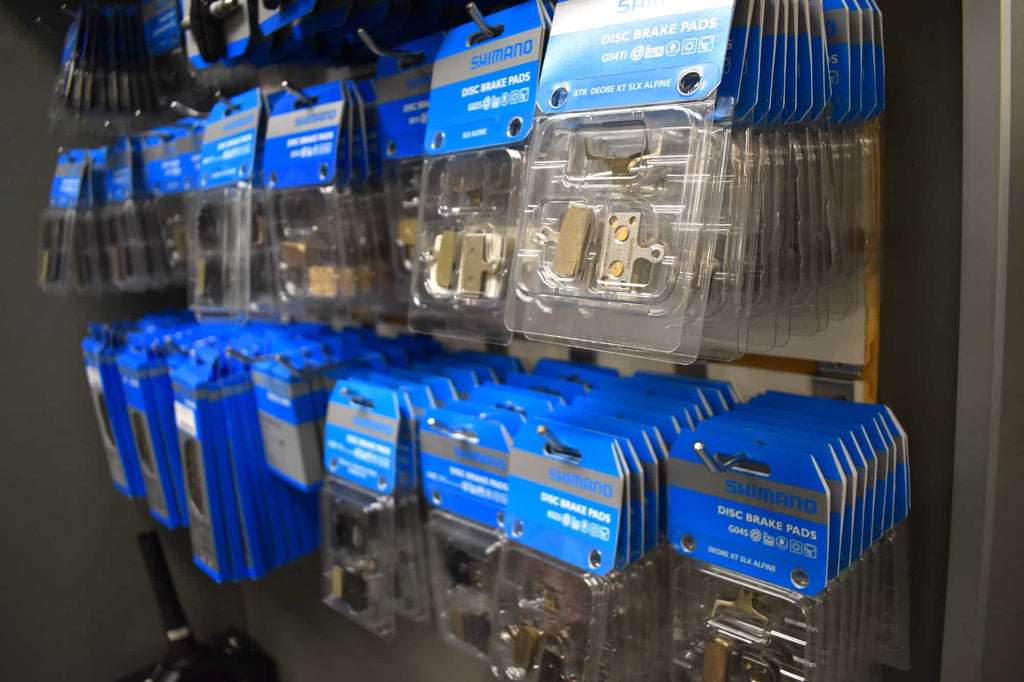 These are just the brake pads we carry for Shimano brakes. There are a lot of different sizes, shapes and types of brake pad out there
Backing material is also a consideration, some pads come with an optional backing material for a lighter weight. SRAM offer an aluminium backing, and Shimano offer titanium. Again, they cost a little more, so if weight isn't a concern for you, the standard steel backing is just fine!

